Showing posts with label DIY. Show all posts
Showing posts with label DIY. Show all posts
Sawyer's Playroom
Tuesday, September 25, 2018

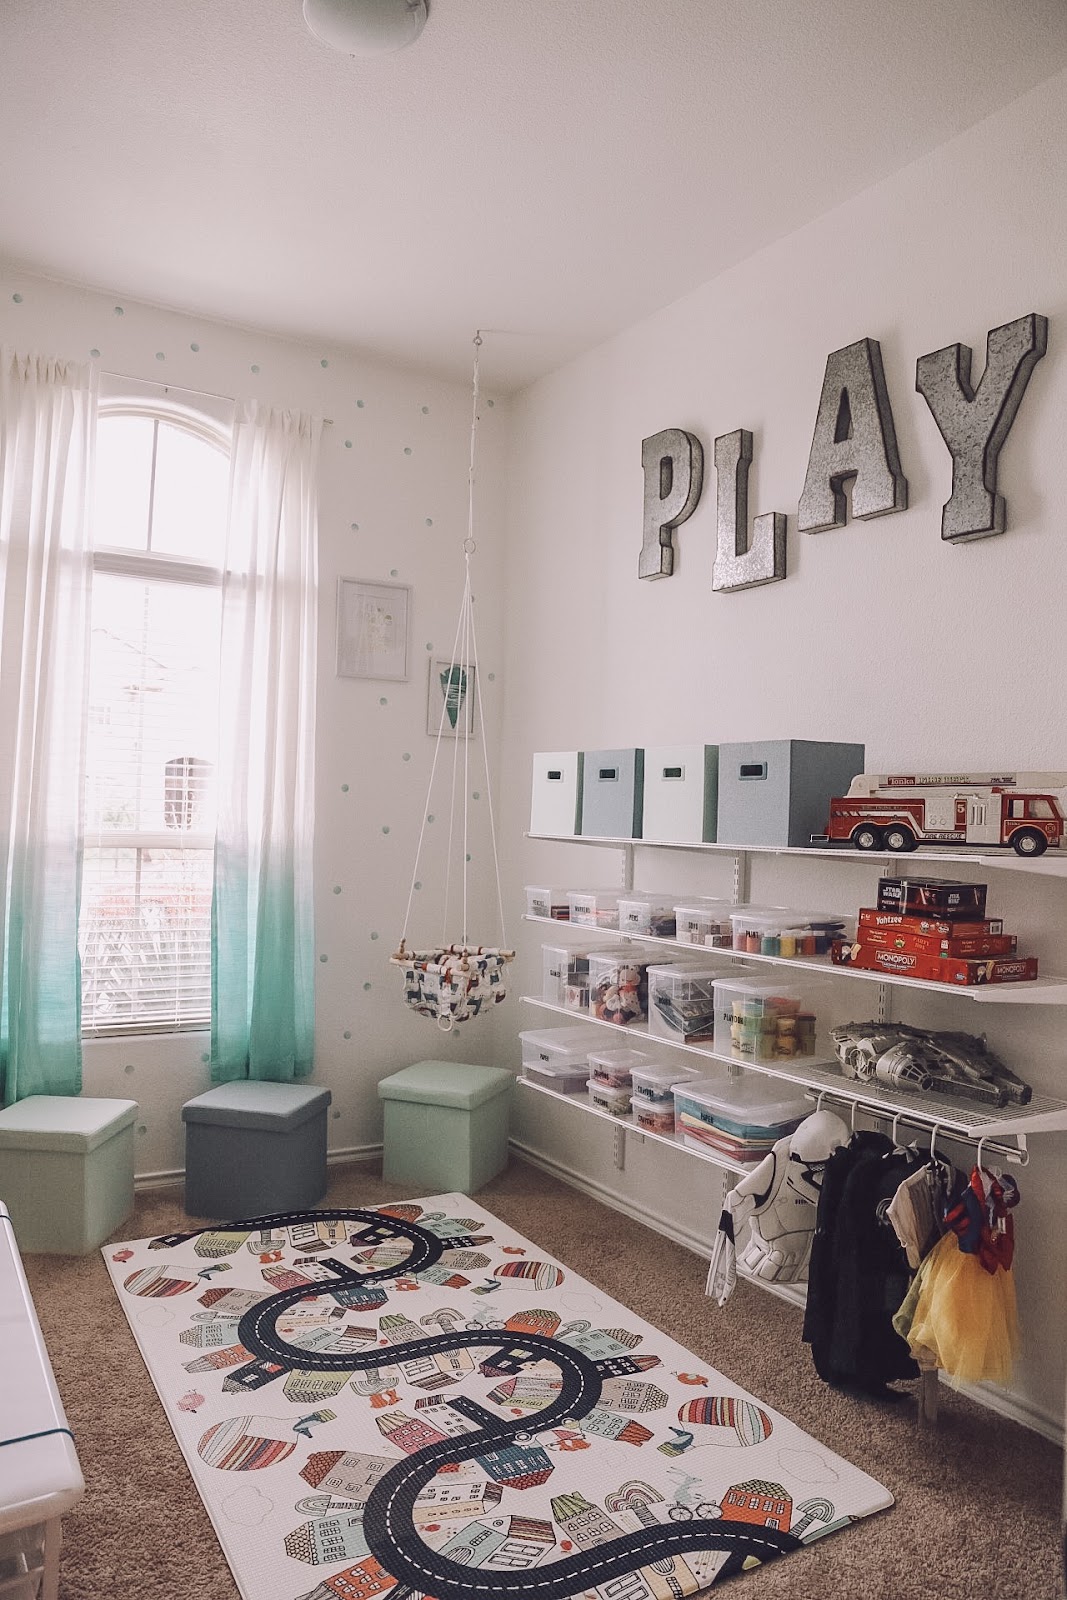
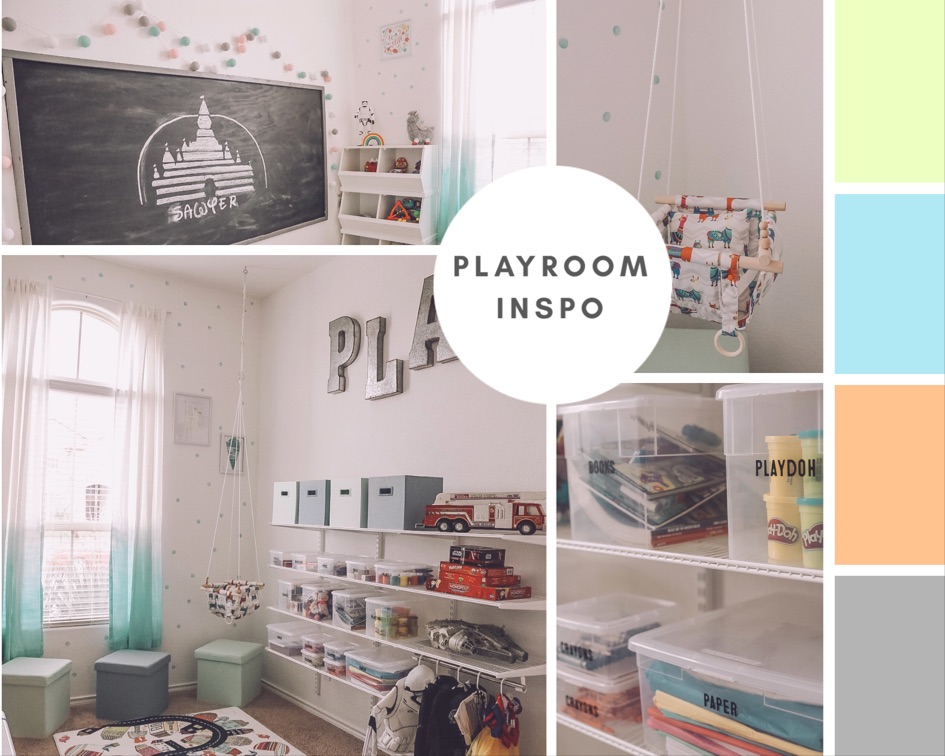
I wanted to do a separate post sharing some of the specifics from the playroom. My other blog post shares about The Container Store and how their Organization Studio helped us design the room. We took on quite a few DIY projects, and honestly some of them didn’t work out, but a lot did!

I was having such a hard time deciding on curtains! For whatever reason curtains are always the last thing I choose in a room. I found this idea on Pinterest and knew it would be perfect for the space. I bought a tie dye kit and painted the dye onto the bottom of the curtains. I let it set overnight and then rinsed them out! Tadaaa ombré curtains.

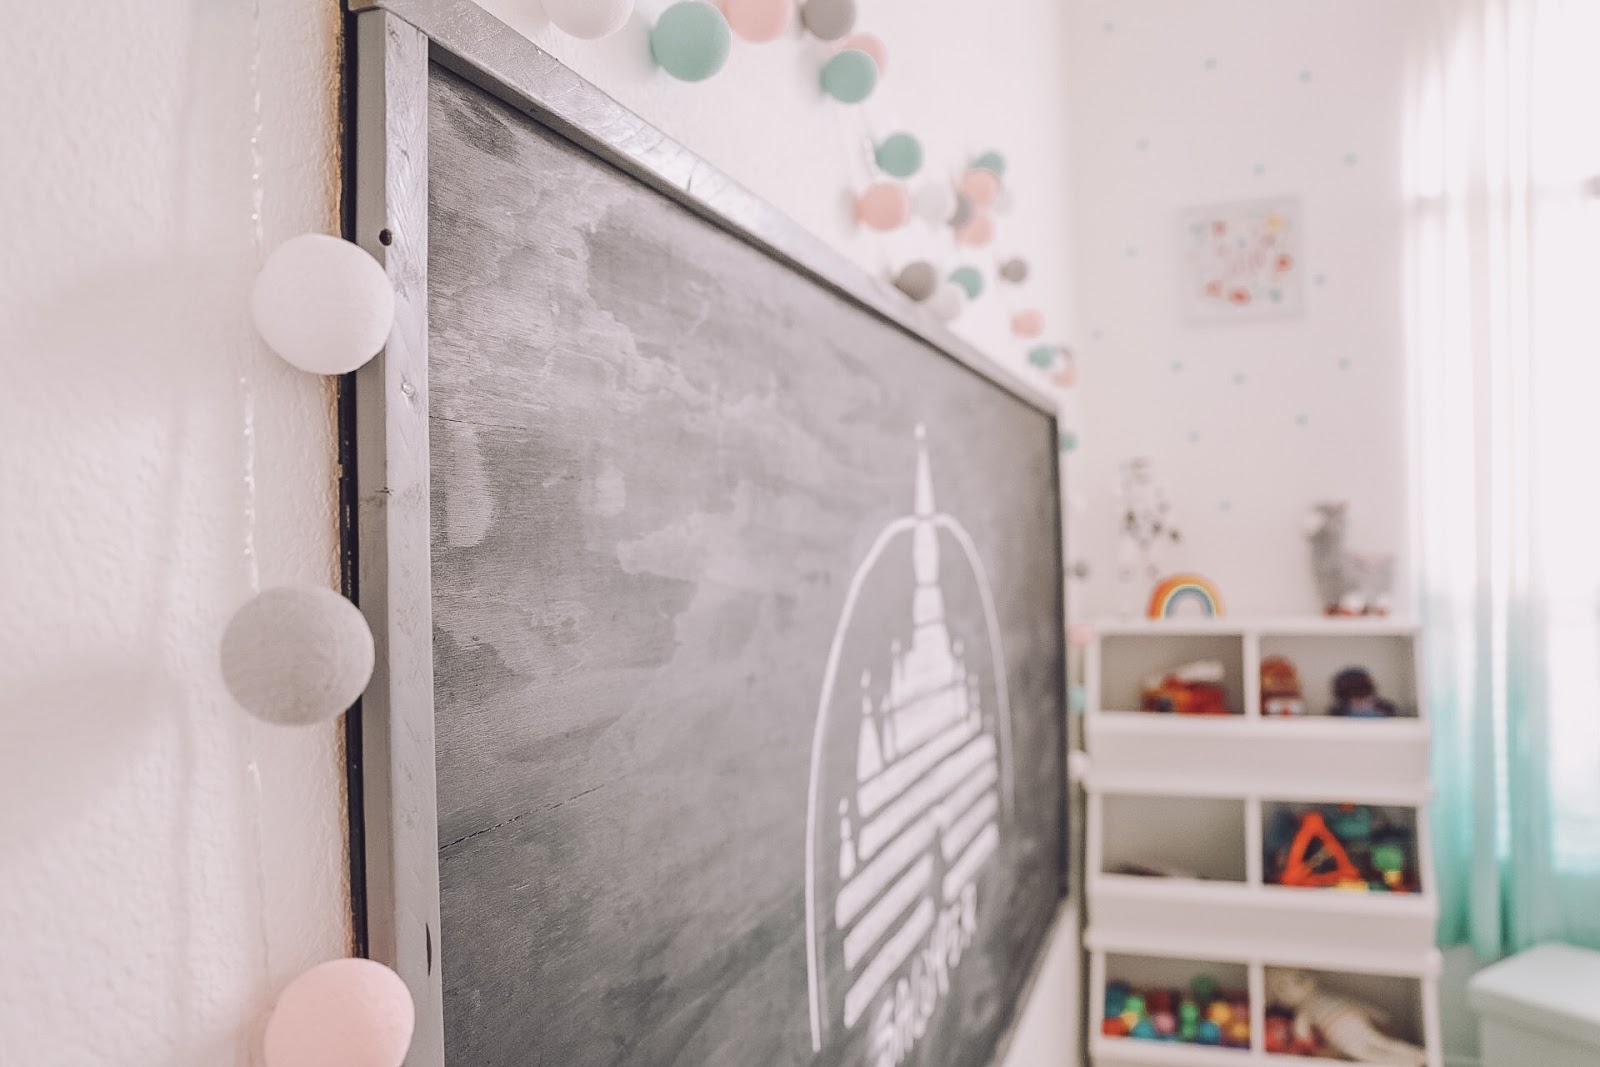
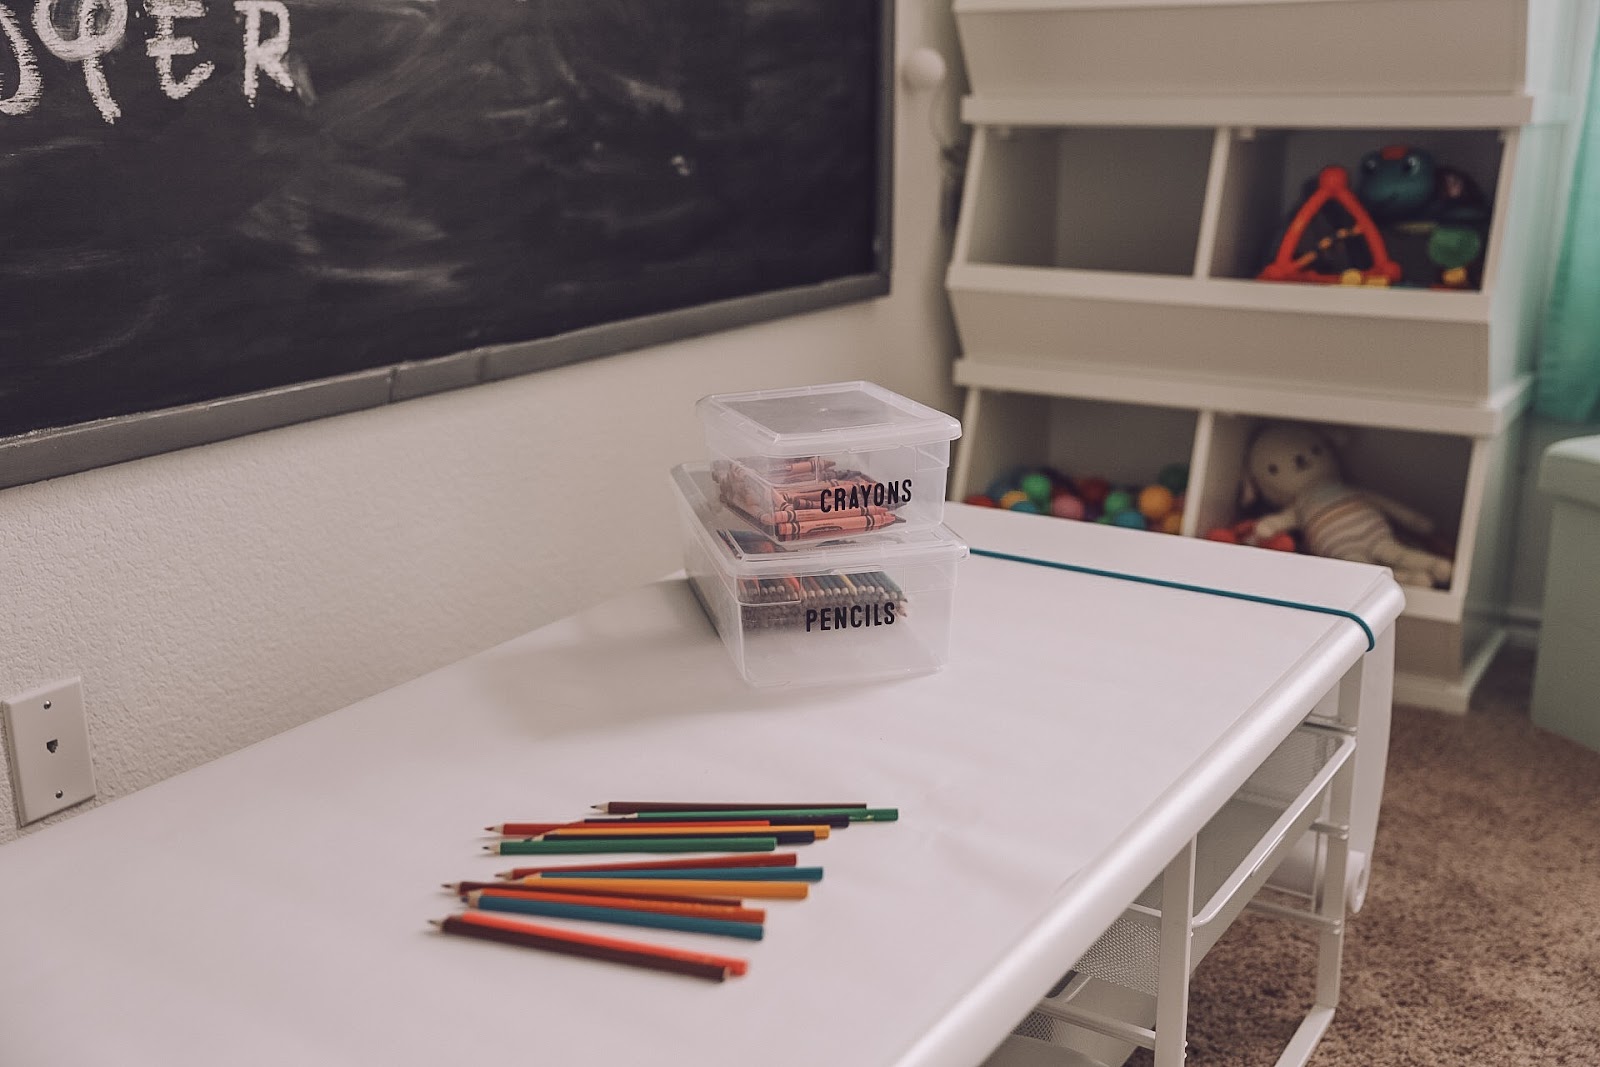
We wanted a giant chalkboard, but our walls are really textured so I didn’t want to paint it directly onto the wall. I purchased some chalkboard paint, gray spray paint, hanging hooks, 1x2s, and a big piece of thin plywood that was already the perfect size. I painted the plywood with a sponge brush and spray painted the 1x2s gray. We screwed the 1x2s onto the board through the back so they wouldn’t be visible. Then we attached the hooks to the back of the chalkboard to hang it onto the wall! I absolutely love it, and it makes me want to homeschool.

I ordered two sets off Amazon, and I’m obsessed. I want them in every kid’s room. They add such a playful touch to the room and look so cute at night.

Daniel wanted these from the very beginning and I fought him on it because I wanted to make some DIY Signs. Well long story short, I wasted some time, money, energy, and a lot of tears on a project. So Daniel came in the room, said we’re going to hobby lobby and that solved that!

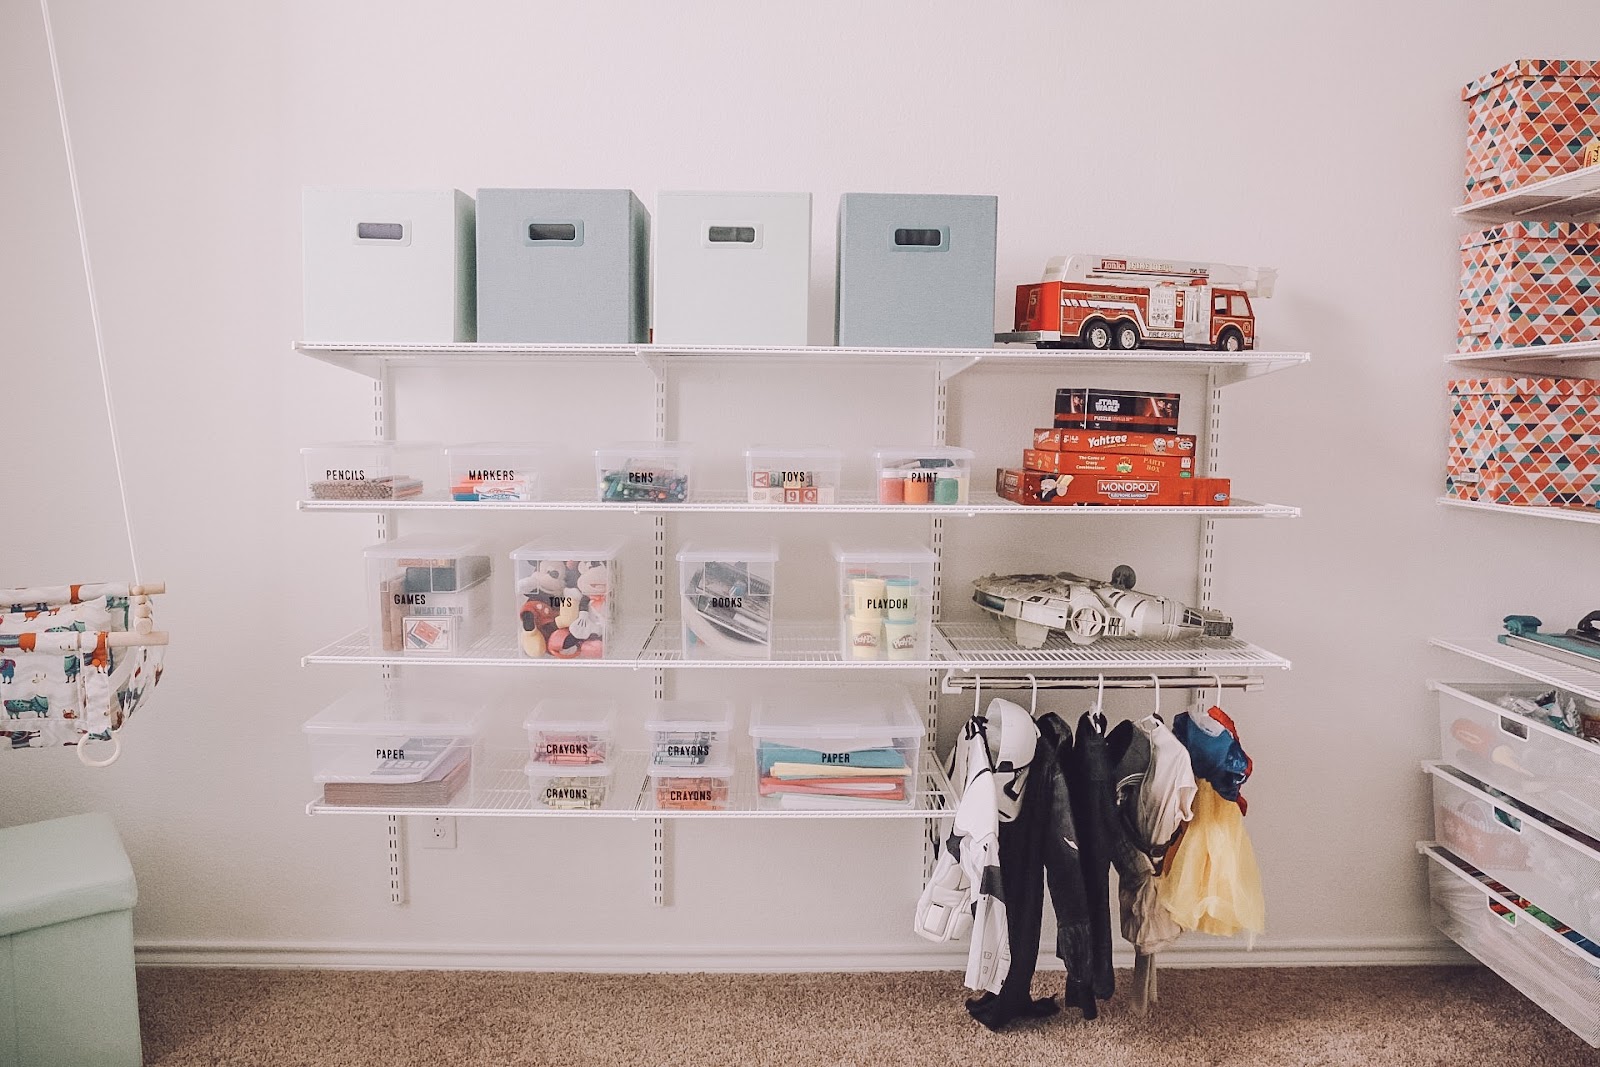
I really wanted cute labels to go on the bins so that we could keep things organized! These are from @theorderlyspace and they would be a dream to work with someday!


I found this adorable company on Instagram called @sweet.swinging and knew that it would be the perfect addition to the playroom. It’ll be so great for the baby in the family to hangout while the big kids play!

Costume Rack
A dress up station is a must! It only has Disney costumes and that’s alright by me. Lots of princess dresses and Star Wars costumes in this home.

I wanted a really bright and white room, but needed to add that whimsical touch. I went with polka dot wall decals so that I could easily change it down the road!

The whimsical color scheme of this playmat has me hooked! I want everything in these colors and it ties everything together perfectly. I love this Skiphop mat bc it wipes clean so I don’t have to worry about stains on the carpet underneath!


Decorations
We mostly used toys as decorations because they’re already so colorful! Most of the signs and prints are from Hobby Lobby. We ordered the wall decal off Amazon to add a Disney touch to go with the Star Wars posters. Lots of the toys are from Five-below and Walmart. We really stocked up on play-dough and finger paint.
We designed this to be a space where Sawyer can grow into an artist, reader, dancer, or honestly whatever she wants to be! So much fun to be had in these four walls.
Organization Studio Playroom with The Container Store
Monday, September 24, 2018

Before:

When I imagine a playroom, I used to envision a room where all the kids junk goes! I attribute that to focusing on the baby stage by preparing the nursery organizing all the clothes and diapers. Then the toddler stage just happens! Suddenly your house is full of broken crayons getting sucked into the vacuum cleaner, and legos feeling like knives on the bottom of your feet. My goal is to start Sawyer’s playroom off organized in hopes that it stays that way. I’ve partnered with The Container Store to find storage options for all of Sawyer’s toys, art supplies, and even some of my craft materials! I used the Organization Studio at their new Next Generation Store on Northwest Highway in Dallas, and met 1-on-1 with an organization expert that helped me find products that offered a long term solution. We found so many great options that we have plenty of space for more toys as she gets older and eventually has more siblings!
Although I chose to organize our playroom, our hall closet, under our sink, and pantry were big contenders! The Organization Studio would be perfect for tackling those pesky messes, but also works great for entire rooms or walk in closets.


The Process
The Organization Studio is the BEST way to find a solution to any problem area in your house.For now it is only available at the Dallas location on Northwest Hwy, but hopefully it will be available everywhere soon. You simply take pictures/videos of the area that needs organizing, add them to your project, and answer a few questions about what problems you’d like solved. An organization specialist will find the best products to create a solution that works for you. You schedule a quick appointment in store to discuss and choose products! Then you are able to purchase them there, or view your solution online to purchase later at home. It’s seriously so fun to meet with an organization specialist who can fix ANY crazy closet or chaotic pantry.

The People
It is so much easier to find a solution when you have someone who is familiar with every product in the store! You will love meeting with the organization specialists at The Container Store. They will make you feel so at home, and not judge you for your disaster zones. It really is about finding solutions for organization problems not just the products. Their expertise make the process much more efficient than just wandering aimlessly around a store.


The Little Things
This may not be a huge deal to everyone, but I have never had an easier time putting furniture together. The Container Store organizes their instructions into steps AND the screws into steps too! So you aren’t digging around for part 1D that looks exactly like 3C.
Shelving installation costs a little extra, but was so worth it to avoid any mistakes. It’s definitely worth checking out, considering their Elfa shelves are 25% off right now!
I plan on using the Organization Studio to reorganize under my kitchen sink next. What area in your house is always getting completely chaotic? Kids room? Pantry? I promise you, The Container Store can fix any problem!
When you make an appointment and meet 1-on-1 with an Organization Expert by 10/31, mention code ORGSTUDIO10 at the register for 10% off the in-store purchase of your solution (exclusions apply). Offer only valid at the Dallas location on Northwest Hwy.


Garage Reorganization
Sunday, August 6, 2017


My sweet husband's 25th birthday was on Monday, and I decided to surprise him by redoing the garage! I gave myself a 12 hour time frame, and less than $200 to complete this job. Those 12 hours even included going to Costco and Walmart for supplies. My husband told me "this is the best birthday gift I've ever gotten" so that's a win in my book.
Supplies
We originally had plastic shelves that we had acquired from family or buy sell trade pages. These were decent, but Daniel had his eye on some really nice steel shelves from Costco. These shelves were originally about $70 each, but they were on sale for $55, which made my budget go even further.
The real problem with our garage was that we had no organization system. It was just whatever we had used recently was on the outside of the shelves, and it ended up just being piles of junk. So I bought 6 black tubs for $4 each. I almost made the mistake of not looking at the shelves dimensions, and buying too large of tubs, so make sure you check dimensions.
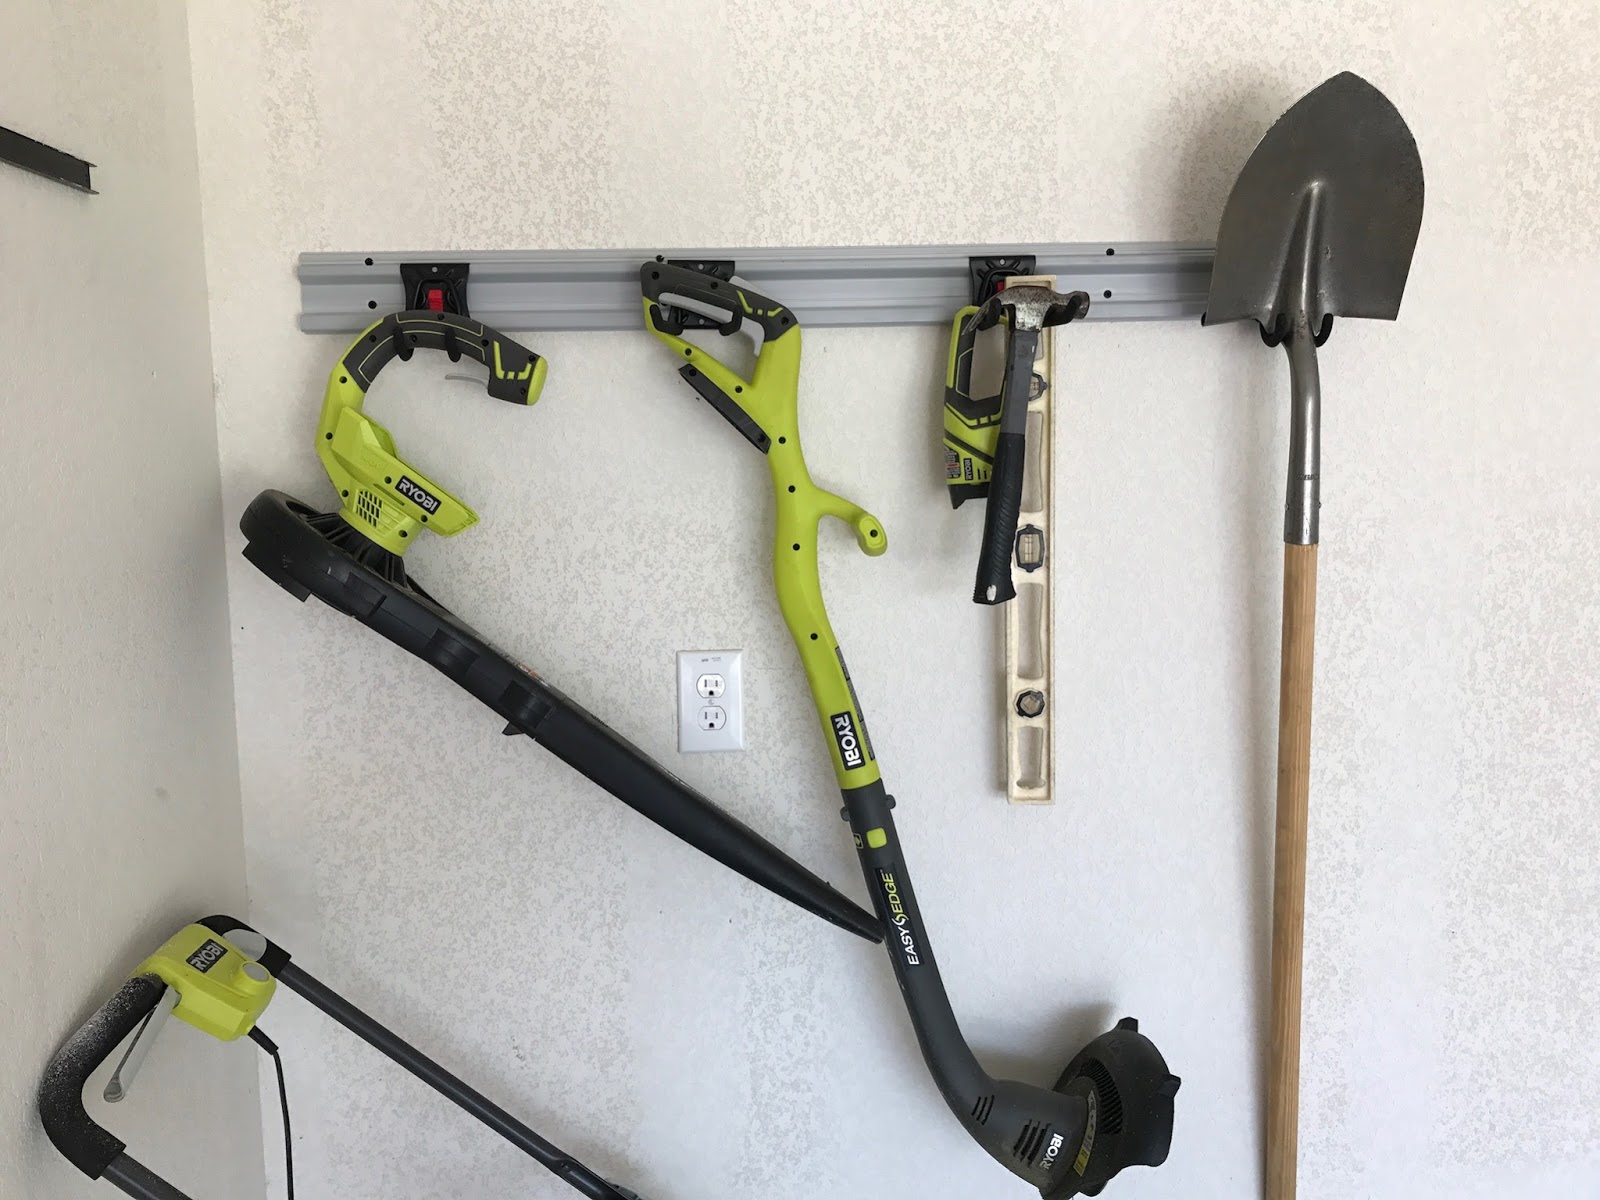
Another issue was that we have so many large tools (ie. shovels, weed wacker, drill) that we use often, but always end up in the way in the garage. The solution was a $15 track system that can hold multiple tools easily, and can be added to as Daniel's tool selection grows.
The last solution was super simple. A magnet strip for behind his work bench. This seems so obvious, but for some reason we had never gotten one! Seriously invest in a $5 magnet strip to save your sanity.
Step by Step
1. Clean Out
I spent about 2 hours cleaning out the garage. If your garage is clean (ours wasn't) then this might take you a lot less time. I threw away a lot of junk, and found a lot of tools and supplies that I didn't even know we had! The clean out gave me a chance to completely clear of our old plastic shelves so I could post them on our neighborhoods buy/sell/trade page to make a little money.


2. Organize
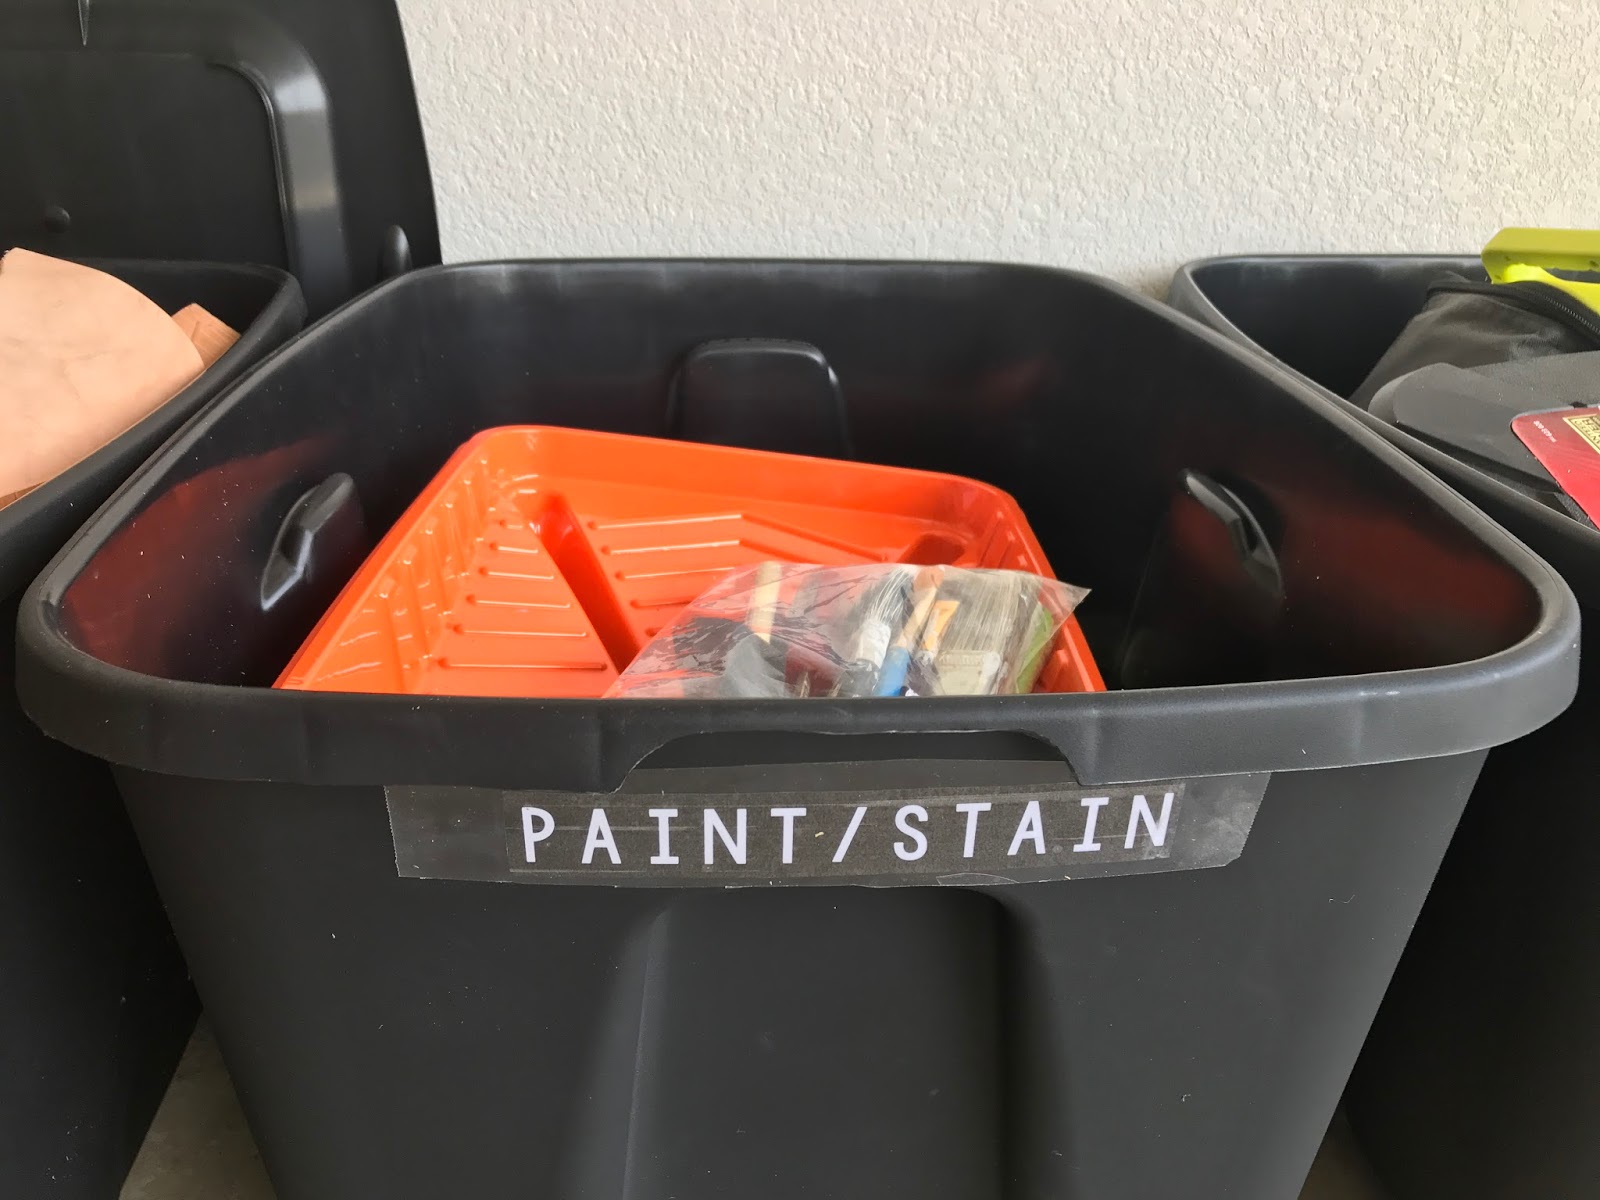
While I cleaned out I organized all of our stuff into 6 different tubs. Based on our garage contents I made a tub for paint, tools, yard, crafts, and 2 tubs for other. Basically anything that didn't fit into the 4 main categories went into other, like our washers and car cleaning supplies. I also made some cute tags with tape and my printer. I'll probably make better ones later on, but for now these will get the job done!


3. Shelves
Metal shelves are heavy... I think I underestimated how heavy they would be. Luckily someone loaded them onto my cart and into my car for me, but as I was driving away I realized I didn't have anyone to help me unload them because it's a surprise for my husband who would usually be the one helping me. So it took a lot of maneuvering to get them out of my car and into the garage. That was only have the struggle. It took about 2 hours to put them together, but it was pretty simple once I understood how to put them together. Also, our sprinkler system controls are behind the shelves, so I had to go back and adjust the shelves to make it accessible.

4. Put it all back together
At this point my garage was looking worse than it did when I started, which is always discouraging. It took about an hour to put everything back together. I put all the newly organized tubs on the bottom shelf for easy access, then things like paint and other heavy items on the next shelf. On the very top self I put all the things we pretty much never use, like our tennis rackets and washer pits.


5. Finishing Touches
Finally, I put up the track system and magnet strip to arrange all the items that always get in the way! These were two super simple solutions to really annoying organization issues. I also reorganized Daniel's work table, and relocated it to the same side of the garage as the shelves.

I really can't believe how happy Daniel was with this present! He is so practical, and this is just what a practical man wants. I am so glad that instead of just putting new shelves in the garage, I tackled the actual problem which was a lack of organization. As we acquire more garage stuff I can easily add more tubs for storage. Really this project was more about surprising Daniel than organizing the garage, but both were achieved!

kelsey
Shiplap Headboard
Sunday, August 6, 2017


Queen Dimensions:
60 inches wide
48 inches tall (legs and headboard)
40 inches tall (just headboard)
King Dimensions:
83 inches wide
54 inches tall (legs and headboard)
40 inches tall (just headboard)
Sander
Drill
Screws
5 2x8s 12 feet long
2 2x4s 10 feet long
Paint
Stain


Trips to Home Depot are always a little stressful to me because I feel like we are going to end up buying the wrong thing and making a mistake! This trip was mistake free, and we came home with exactly what we needed.
Daniel cut the width of the headboard first. If you buy the 12 foot long 8x2s then you have exactly enough for a queen and a king headboard with no scraps. (5 feet for the queen & 7 feet for the king) If you aren't making both, then you can either buy less or shorter ones. I'm not sure what variations they have in 8x2s, but it's worth looking to save some money. Then he cut the legs out of 2x4s. The queen legs should be 4 feet, and the king legs need to be 4.5 feet.


After it was completely put together, I took over by sanding the entire headboard. The sides, the legs, the face of it, you don't want anyone getting splinters while staying in the guest bedroom.

Some of your boards may have writing on them, which I always thought was terrible. I really thought you just had to use the other side, but I realized I could just sand the words out!

I knew I wanted to do a white headboard, but wasn't sure how many coats I wanted. So I decided to test out the top board to see if it was what I wanted! I loved the white washed look, especially because the other furniture in the room is white, but completely white with no word showing through.

It's so pretty to be able to see the grain of the wood and all the imperfections. It's also pretty great to only have to do one coat after the five coats I had to put on the other furniture in this space!!!!!

This finished product was exactly what I wanted. Simple. Clean. Rustic.

I love how simple this space is. So uncluttered. Even the walls are lightly decorated which is so important in a small room to make it feel open. To see the full bedroom renovation check out my post about the furniture here and guest bedroom redo here.
xoxo,
kelsey